Set-up of Casper Cartridge (2013 Summer)
Japanese,
Casper Cartridge (2013 Summer),
Casper Cartridge Top,
kameda-lab.org
(2014/06/02, 22:21 JST)
Making a USB memory stick as boot device
This document describes the procedure to make a USB memory stick into Casper Cartridge.
Please visit Casper top page for project overview.
(Step:1) Required hardware
- USB memory stick
(Required size is written in the version table)
(Unfortunately, not every USB memory stick can boot you PC...)
(less problems on USB2.0 memory stick, but they are slow)
(USB3.0 memory stick is fast, but it sometimes has a problem on booting)
(As for USB3.0, Buffalo's RUF3-K16G series is a good choice ; mmm... available only in Japan)
- Windows PC
(Used for making USB memory stick for the first part of the procedure, then it will be used as a platform of running live linux with Casper Cartridge)
(You can prepare two different PCs for these two purposes)
(A PC of which BIOS can serve boot menu is good for Casper Cartridge)
Temtably 20GB on Windows HDD will be used.
Fast Internet connection is required because you will be asked to download 5GB - 10GB later.
(Step:2) Making a USB memory stick into "standard" boot device
- Download and execute Universal USB Installer (UUI).
ver. 1.9.3.5
(Ver.1.9.3.5 was used here)
(You must use UUI, since other similar applications cannot work properlyl for Casper Cartridge)
- Plug in new USB memory stick. Say it can be found at drive F:.
(Be careful not to specify other drive!)
- On UUI, set parameters as:
(Choose Ubuntu-12.04.2-desktop-amd64.iso)
(Download Ubuntu-12.04.2-desktop-amd64.iso for the first time. It is about 695MB)
(Only 100MB is set because this persistent file will be only used for function test. It will be replaced later.)

- Boot the PC by the Casper Cartridge. Avoid booting through EFI.
(Ask BIOS manual for boot from USB memory stick)
(Boot menu could come by F12 on some BIOS)
(If you boot your PC by EFI, you successfully boot it, but sometimes you cannot access persistent file ... you cannot record your work there)
(On a successful boot up, splash screen like below will come up. Just wait for 1 minutes or so.)

- On the end of first boot, Ubuntu will ask you for this session. Choose "Try Ubuntu".
- At the end of first boot, the PC settles down with the screen below.

- Let's make one icon on the desktop for verifying recording avility.
(Right click -> Create New Document -> Empty Document -> rename the file like "kameda.txt")

- Reboot the PC.
(Shut down menu could be found at the right-top wheel icon.)
(Do not forget to boot from USB memory stick)
- The preparation succeeds if you see your icon on the desktop.
(If not, DO NOT GO FURTHER. Check the procedure again.)
(Step:3) Replacing files to make it Casper Cartridge
Return to Windows environment.
Some files on the USB memory stick will be replaced here.
Say the USB memory stick is shown at E: this time.
- CasperFS
E:\casper\filesystem.* (four files)
filesystem.squashfs plays read-only root file system on live linux.
FYI, it is 675MB at Ubuntu 12.4.2 desktop default.
- casper-rw
E:\casper-rw
casper-rw corresponds to read/write root file system on live linux.
All the changes to the root file system are recorded inside this file.
It is also known as a persistent file.
At default, casper-rw size is determined by UUI config parameter (100MB).
If you rename casper-rw to other name or delete it, Casper Cartridge behaves as same as CDROM boot. All changes will be cancelled at shutdown.

The procedure is shown here. Suppose the target version is 5XX.
Prepare about 20GB on Windows HDD somewhere as work area.
- CasperFS
- Download a zip file (CasperFS5XX.zip) at 5XX column at CasperFS row in Casper 5 list (2013 Summer) table.
(Check md5sum if you can)
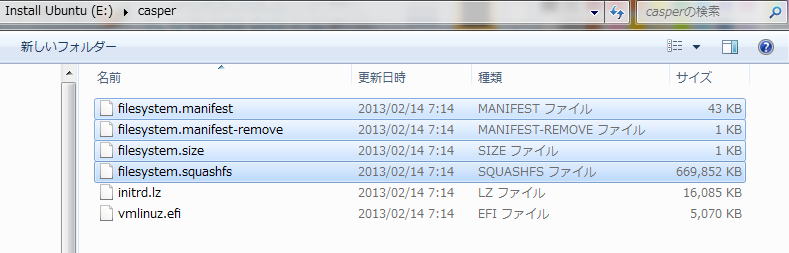
- Four files filesystem.* will be obtained from the zip file.
- Delete E:\casper\filesystem.* (four files).
(Or rename E:\casper to E:\casper_original and make E:\casper if you have big USB memory stick)
- Copy the extracted four files to E:\casper\ .
(It may take 10 - 40 minutes by USB2.0)
(Below is a snapshot just after copying the four files has done.)
- casper-rw
- Download a zip file (casper-rw530.zip) at 5XX column at casper-rw row in Casper 5 list (2013 Summer) table.
(Check md5sum if you can)
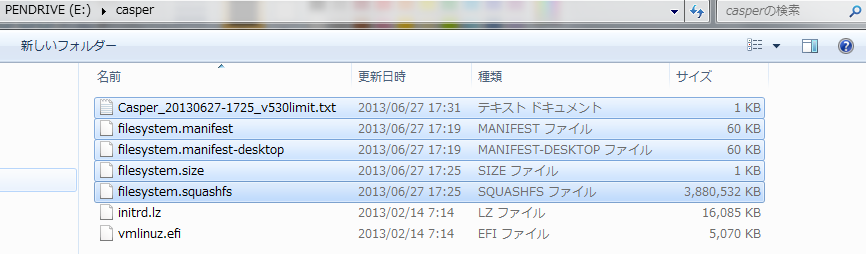
- A file named casper-rw of which size is 4GB will be obtained from the zip.
- Delete E:\casper-rw .
(Or rename E:\casper-rw to E:\casper-rw_original .)
- Copy the extracted casper-rw to E:\ .
(It may take 10 - 40 minutes by USB2.0)
(Below is a snapshot just after copying casper-rw has done.)

(Step:4) Starting Casper Cartridge
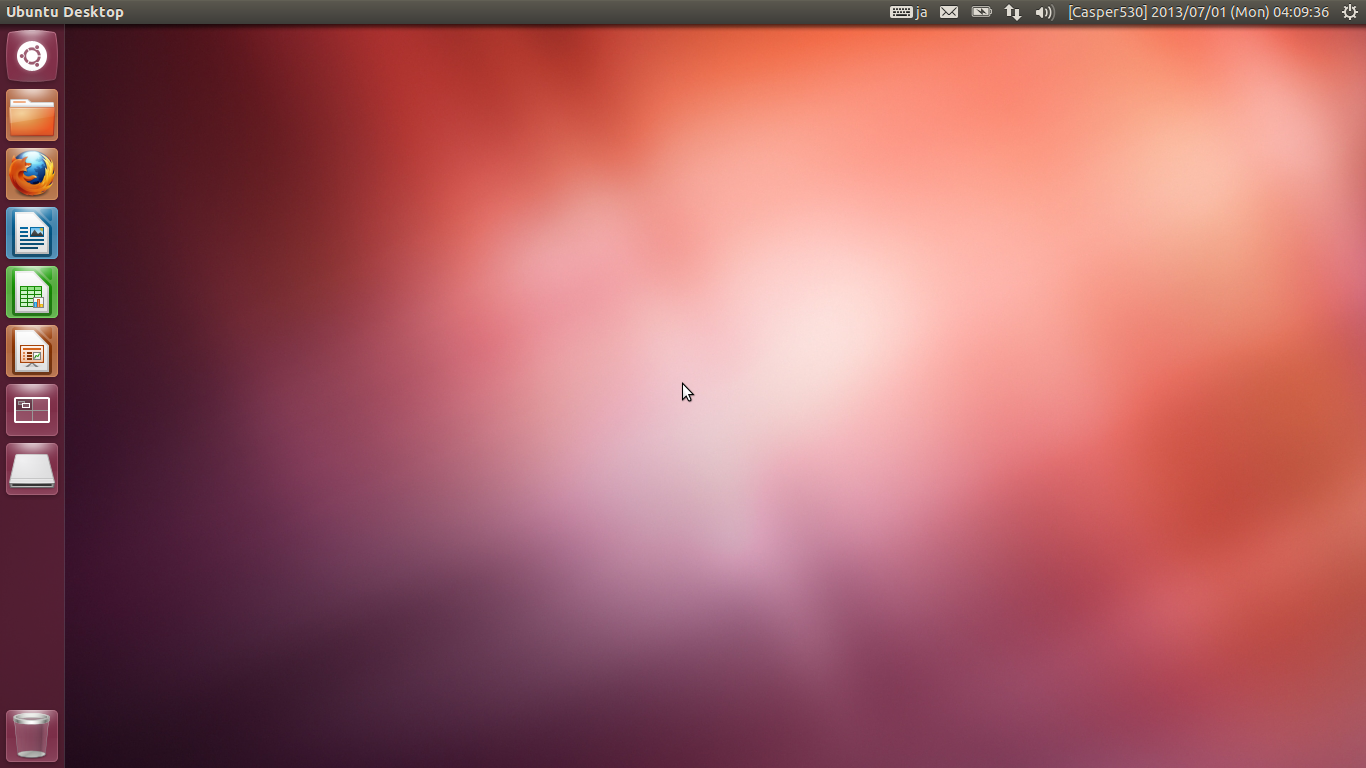
Boot up the PC by the Casper Cartridge made at Step:3.
On success, the screen below comes up. Check the version string at the clock.
(In this case [Casper530] is the correct. If you see [Casper530RC3] or others, it is not in good state.)
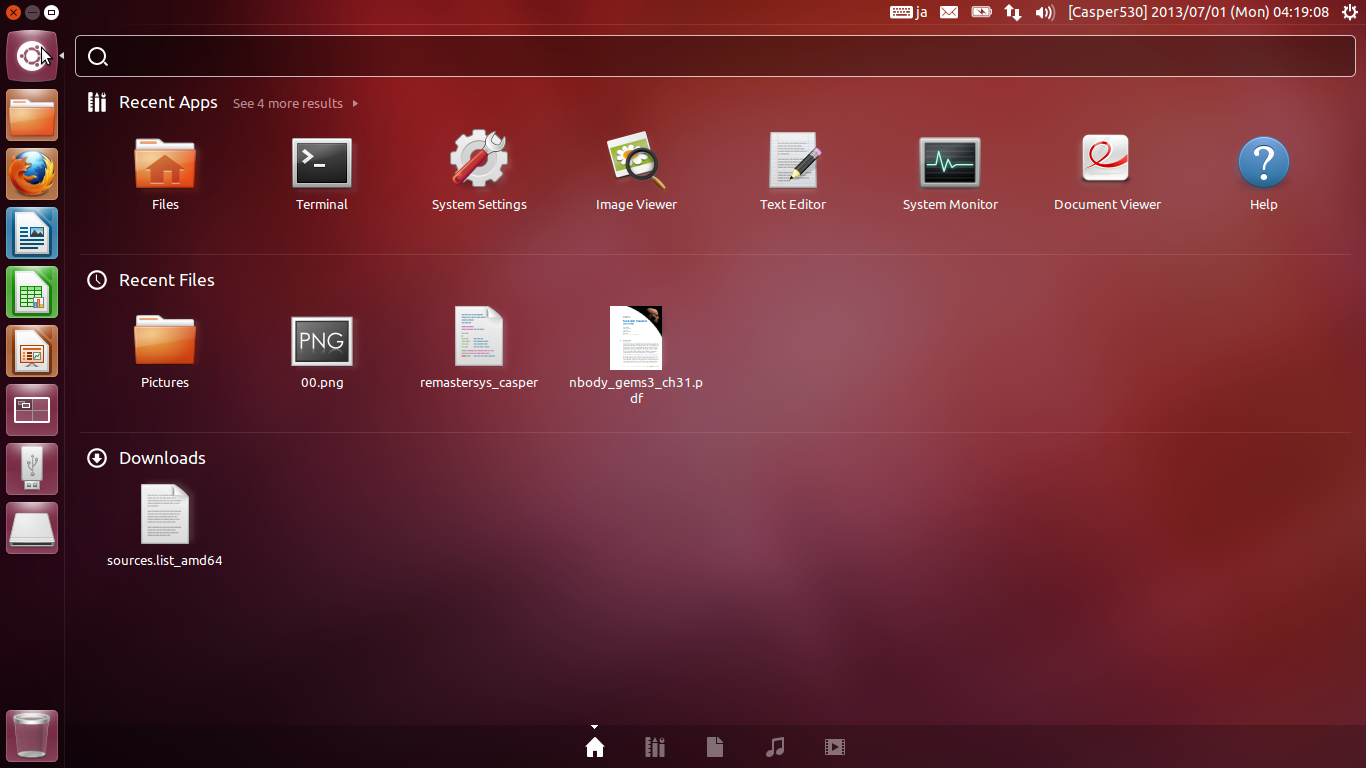
You can use this Linux just same as other HDD based Linux.
FYI, type "Windows" key on calling applications/commands. The picture shows what happens when you type Windows key.
Always be careful for remaining file system size because it is 4GB at max.
(Checking the available size by df command in a terminal window. Available size at /cow is the remaining size[KB])
(At Casper530, only 2.4GB is remaining.)

(Step:5) Changing Keyboad and Timezone
As Casper ver.5** is provided with the default configuration of Japanese keyboard and Tokyo timezone, you should better change them.
kameda[at]iit.tsukuba.ac.jp